
The sudden appearance of that little amber light on your dashboard can be unsettling. When it’s steadily lit, it often signals a problem that needs attention soon. But when it starts flashing – that’s when many drivers experience a surge of anxiety. A flashing check engine light isn't just a suggestion; it's a strong indicator that something is seriously wrong and could potentially damage your vehicle if ignored.
Understanding the urgency and implications of a flashing engine warning light can save you from costly repairs and potential roadside breakdowns. This isn't just about identifying the problem; it's about taking immediate action to protect your car's engine and ensure your safety. Ignoring a flashing light can lead to worsened conditions, turning a relatively minor fix into a major overhaul.
The Critical Difference: Solid vs. Flashing Check Engine Light
It’s crucial to understand the distinction between a solid and a flashing check engine light. A solid light typically indicates an issue that requires attention but doesn't necessarily pose an immediate threat to your engine's health. It could be anything from a loose gas cap to a malfunctioning sensor. You usually have some time to investigate and address the problem.
A flashing check engine light, however, signifies a more severe problem, most often a misfire that can quickly damage the catalytic converter. This component is responsible for reducing harmful emissions, and when raw fuel enters it due to a misfire, it can overheat and potentially melt down. Catalytic converter replacement is a significant expense, so prompt action is essential.
Common Causes of a Flashing Check Engine Light
Several issues can trigger a flashing check engine light, but a misfire is the most common culprit. A misfire occurs when one or more of your engine's cylinders fails to fire properly. This results in unburnt fuel entering the exhaust system. Here's a breakdown of the common causes: Misfires: As mentioned above, this is the most frequent cause. Misfires can stem from faulty spark plugs, ignition coils, fuel injectors, or vacuum leaks. Catalytic Converter Issues: While a misfire often leads to catalytic converter problems, a failing converter itself can sometimes trigger a flashing light, particularly if its efficiency drops below a certain threshold. Ignition System Problems: This includes issues with spark plugs, ignition coils, distributor cap and rotor (in older vehicles), and ignition wires. A weak or inconsistent spark can cause misfires. Fuel System Problems: Issues such as a clogged fuel filter, a weak fuel pump, or malfunctioning fuel injectors can disrupt the proper air-fuel mixture, leading to misfires. Vacuum Leaks: Leaks in vacuum lines can alter the air-fuel mixture, causing the engine to run lean and misfire. Sensor Malfunctions: While less common than a misfire, faulty sensors like the oxygen sensor or mass airflow sensor can provide incorrect data to the engine control unit (ECU), leading to misfires or other engine problems. Engine Mechanical Issues:In rare cases, more serious engine problems like worn piston rings, damaged valves, or a blown head gasket can cause a flashing check engine light.
Immediate Actions to Take
When that check engine light starts flashing, here’s what you should do:
1.Reduce Speed and Load: If it's safe to do so, reduce your speed and avoid any hard acceleration. This can help minimize the stress on your engine and potentially reduce the severity of the misfire.
2.Pull Over (Safely): If the light is flashing severely and the car is running rough, find a safe place to pull over as soon as possible. Continuing to drive with a severe misfire can cause significant damage.
3.Check for Obvious Issues: Before calling for help, do a quick check under the hood. Look for any obvious signs of damage, such as disconnected hoses, frayed wires, or leaking fluids. Sometimes a simple visual inspection can reveal the problem.
4.Don't Ignore It: This cannot be stressed enough. Do not continue to drive for extended periods with a flashing light.
5.Schedule a Professional Inspection: The best course of action is to have your vehicle professionally diagnosed as soon as possible. A qualified mechanic can use diagnostic tools to pinpoint the exact cause of the flashing light and recommend the appropriate repairs.
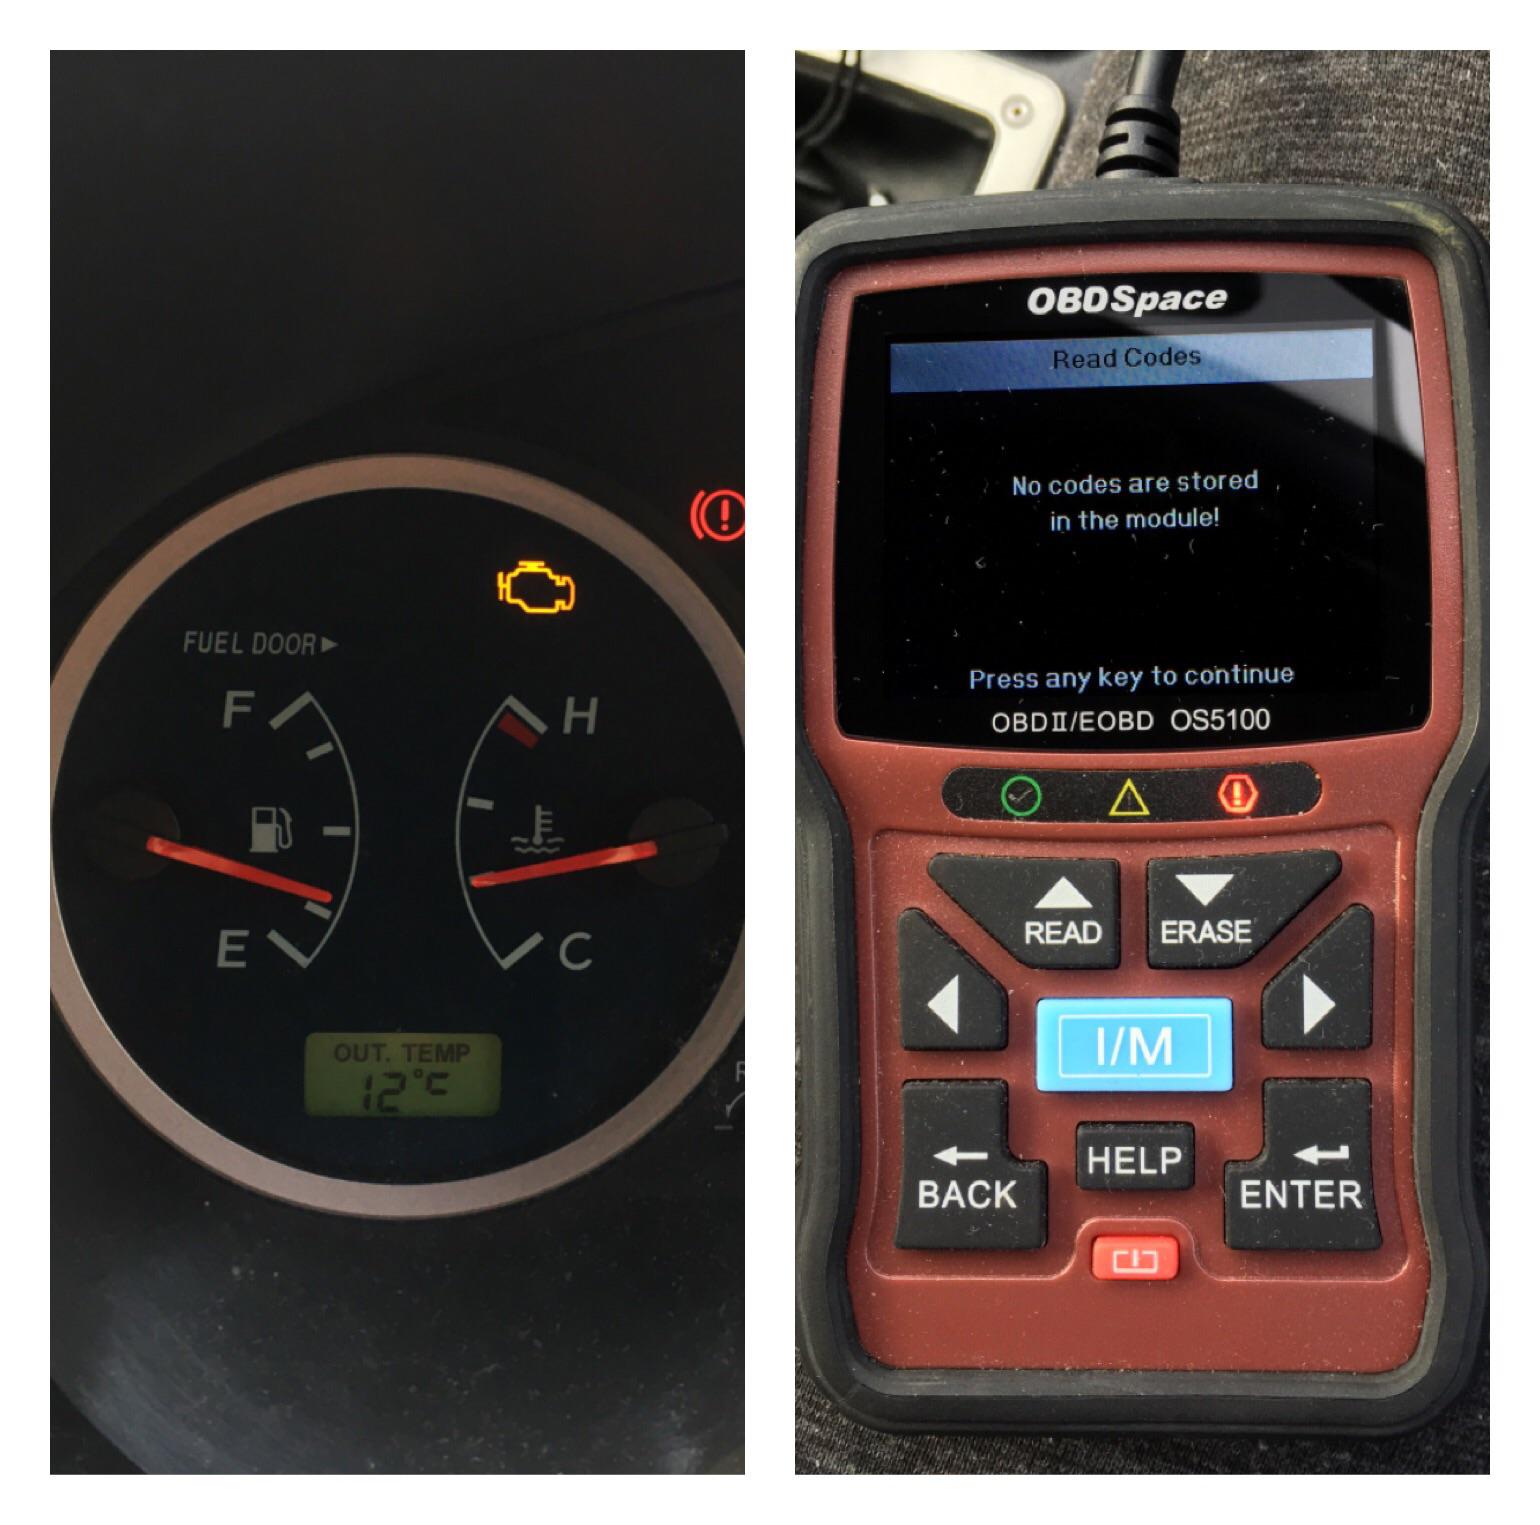
Diagnosing the Problem: Tools and Techniques
Modern vehicles have an Onboard Diagnostics System (OBD II) that stores diagnostic trouble codes (DTCs) when a problem is detected. Here’s how these codes are used to diagnose a flashing check engine light:
1.OBD II Scanner: A mechanic will connect an OBD II scanner to your vehicle's diagnostic port (usually located under the dashboard). The scanner retrieves the stored DTCs, which provide clues about the nature of the problem. Many affordable OBD II scanners are available for purchase, allowing car owners to read codes themselves.
2.Code Interpretation: The DTCs are not always straightforward. A code indicating a misfire in cylinder #3, for example, points to a problem specific to that cylinder, but the root cause could still be a faulty spark plug, ignition coil, or fuel injector.
3.Further Inspection: Based on the DTCs, the mechanic will perform further inspections to pinpoint the exact cause. This might include: Spark Plug Inspection:Checking the condition of the spark plugs for wear, damage, or fouling.
Ignition Coil Testing: Testing the ignition coils to ensure they are delivering a strong spark.
Fuel Injector Testing: Checking the fuel injectors for proper spray pattern and flow rate.
Vacuum Leak Test: Using a smoke machine or other methods to identify vacuum leaks.
Compression Test: Performing a compression test to assess the condition of the engine's cylinders.
Addressing Common Causes: Step-by-Step Guides
Let’s look at some of the most common causes and how they can be addressed:
Replacing Spark Plugs
Tools Needed
Socket set with spark plug socket
Ratchet
Extension
Torque wrench
Spark plug gap tool
New spark plugs
Steps
1.Safety First: Disconnect the negative battery cable.
2.Access the Spark Plugs: Remove any covers or components that are blocking access to the spark plugs.
3.Remove the Ignition Coil: Disconnect the electrical connector from the ignition coil and remove the coil.
4.Remove the Spark Plug: Use the spark plug socket and ratchet to carefully remove the spark plug.
5.Inspect the Spark Plug: Examine the old spark plug for signs of wear or damage.
6.Gap the New Spark Plug: Use a spark plug gap tool to ensure the new spark plug has the correct gap, as specified by your vehicle's manufacturer.
7.Install the New Spark Plug: Carefully thread the new spark plug into the cylinder head by hand.
8.Torque the Spark Plug: Use a torque wrench to tighten the spark plug to the manufacturer's specified torque.
9.Reinstall the Ignition Coil: Reinstall the ignition coil and reconnect the electrical connector.
10.Repeat: Repeat the process for the remaining spark plugs.
11.Reconnect the Battery: Reconnect the negative battery cable.
Replacing an Ignition Coil
Tools Needed
Socket set
Ratchet
Extension
New ignition coil
Steps
1.Safety First: Disconnect the negative battery cable.
2.Locate the Faulty Coil: Use an OBD II scanner to identify the cylinder with the misfire. The ignition coil for that cylinder is likely the culprit.
3.Access the Ignition Coil: Remove any covers or components that are blocking access to the ignition coil.
4.Disconnect the Electrical Connector: Disconnect the electrical connector from the ignition coil.
5.Remove the Ignition Coil: Remove the bolts or screws that secure the ignition coil.
6.Install the New Ignition Coil: Install the new ignition coil and secure it with the bolts or screws.
7.Reconnect the Electrical Connector: Reconnect the electrical connector to the ignition coil.
8.Reconnect the Battery: Reconnect the negative battery cable.
Identifying and Repairing Vacuum Leaks
Tools Needed
Smoke machine (optional, but recommended)
Spray bottle with soapy water
Vacuum line replacement kit
Screwdrivers
Pliers
Steps
1.Visual Inspection: Start by visually inspecting all vacuum lines for cracks, breaks, or disconnections.
2.Soapy Water Test: Spray soapy water on vacuum lines and connections. If bubbles form, it indicates a leak.
3.Smoke Machine Test: A smoke machine injects smoke into the intake system. Smoke will escape from any leaks, making them easy to identify.
4.Replace Leaking Lines: Replace any damaged or leaking vacuum lines with new ones.
5.Check Connections: Ensure all vacuum line connections are secure.
Prevention Tips to Avoid a Flashing Check Engine Light
Preventive maintenance is key to avoiding a flashing check engine light and the associated headaches: Regular Tune-Ups: Follow your vehicle's recommended maintenance schedule, including spark plug replacement, air filter changes, and fuel system cleaning. Use Quality Fuel: Using high-quality fuel can help prevent fuel injector clogs and other fuel system problems. Address Problems Promptly: Don't ignore a solid check engine light. Addressing minor issues early can prevent them from escalating into more serious problems that trigger a flashing light. Monitor Engine Performance: Pay attention to how your engine is running. If you notice any unusual noises, vibrations, or performance issues, have them checked out by a mechanic. Regular Oil Changes: Regular oil changes help keep your engine running smoothly and prevent excessive wear and tear. Inspect Hoses and Belts: Regularly inspect hoses and belts for cracks, leaks, or wear. Replace them as needed.
Pros and Cons of DIY vs. Professional Repair
DIY Repair
Pros: Cost savings, satisfaction of doing it yourself, learning about your vehicle. Cons: Requires mechanical knowledge and tools, risk of misdiagnosis or incorrect repair, can void warranty in some cases.
Professional Repair
Pros: Accurate diagnosis, proper repair, guaranteed work, access to specialized tools and equipment. Cons: Higher cost, may require leaving your vehicle at the shop.
Generally, if you're comfortable with basic auto repair and have the necessary tools, you can tackle simple issues like spark plug or ignition coil replacement. However, for more complex problems or if you're not confident in your abilities, it's best to seek professional help.
FAQ Section
Q: Can I drive with a flashing check engine light?
A: It is strongly advisednotto drive with a flashing light for extended periods. It indicates a severe problem that can damage your engine. Drive only as far as necessary to get to a safe location or repair shop.
Q: How much does it cost to diagnose a flashing check engine light?
A: Diagnostic fees vary, but typically range from $75 to $150. This covers the mechanic's time to scan the codes and perform a preliminary inspection.
Q: Will disconnecting the battery reset the check engine light?
A: Disconnecting the batterymighttemporarily reset the light, but it won't fix the underlying problem. The light will likely come back on, and you'll have lost valuable diagnostic information.
Q: What is a "limp mode"?
A: Limp mode is a safety feature that some vehicles activate when a severe problem is detected. It limits engine power and speed to prevent further damage.
Q: Can a loose gas cap cause aflashingcheck engine light?
A: A loose gas cap typically causes asolidcheck engine light, not a flashing one. While a loose gas cap can affect emissions, it doesn't usually pose an immediate threat to the engine.
Q: Is it safe to use fuel additives to fix a misfire?
A: Fuel additivesmighthelp in some cases, particularly if the misfire is caused by dirty fuel injectors. However, they are not a substitute for proper diagnosis and repair. If the misfire is caused by a faulty spark plug or ignition coil, a fuel additive won't solve the problem.
Conclusion
A flashing engine malfunction indicator is a serious warning that demands immediate attention. Don't ignore it. Take the necessary steps to diagnose the problem and have it repaired promptly. Preventive maintenance and regular inspections are your best defense against this alarming dashboard signal. By understanding the causes, taking quick action, and seeking professional help when needed, you can protect your vehicle's engine and keep it running smoothly for years to come.
Related: [how to choose a mechanic], [understanding car diagnostic tools]